
This blog post picks up where Part 2 – Installing PowerCLI and Git left off. Now that we have some momentum going with this Git Integration with VS Code blog series, let’s keep it going with Part 3 – Installing Visual Studio Code!
Installing Visual Studio Code
- Visual Studio Code can be downloaded for free from Microsoft’s web site at: https://code.visualstudio.com/Download
- Once downloaded, double-click on the VSCodeSetup.exe to begin the installation process.
- On the Welcome to the Visual Studio Code Setup Wizard window, click Next to begin.

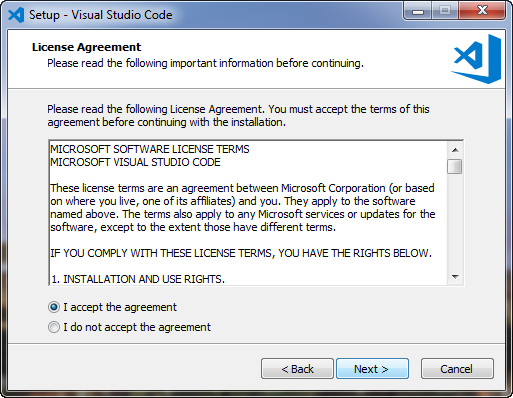
- On the License Agreement window, carefully read over the license terms, select I accept the agreement, then click Next.
- On the Select Destination Location window, select the appropriate location where the VS Code software should be installed. Click Next to continue.

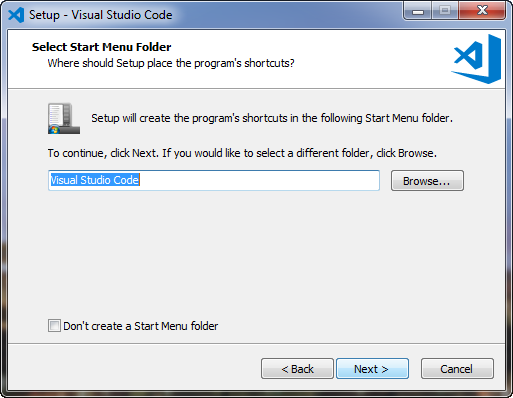
- On the Select Start Menu Folder window, simply accept the defaults (or customize as you’d like), then click Next.
- On the Select Additional Tasks window, I left the default options selected. Feel free to adjust as you like, and then click Next to proceed.

- On the Ready to Install window, confirm that the options and settings are correct, and click Install to kick off the installation process.

And there you have it! Now that Visual Studio Code has been installed, the next part in this Git Integration with VS Code blog series will focus on Part 4 – Configuring Visual Studio Code by installing the PowerShell module and configuring Git for use with a GitHub account.
